
KEYWORDING
AI keywordingPRO+
As of version 1.7, Xpiks can generate relevant keywords fully automatically, using a single button click. This feature is implemented as a plugin.

Fully automated keywording will save a lot of time
Metadata generation
Generation for a single artwork can be used from main view or single artwork editing view.
Starting from plugin version 0.3.0 and onwards you can also generate descriptions in addition to keywords (and from 0.5.1 - title). Generation of descriptions can be turned off in the “More” menu below the keywords if you don’t need it.
Note that there are cases when description/title cannot be generated - in those cases Xpiks will show
N/A(“Not Available”) label.
Adding keywords one by one
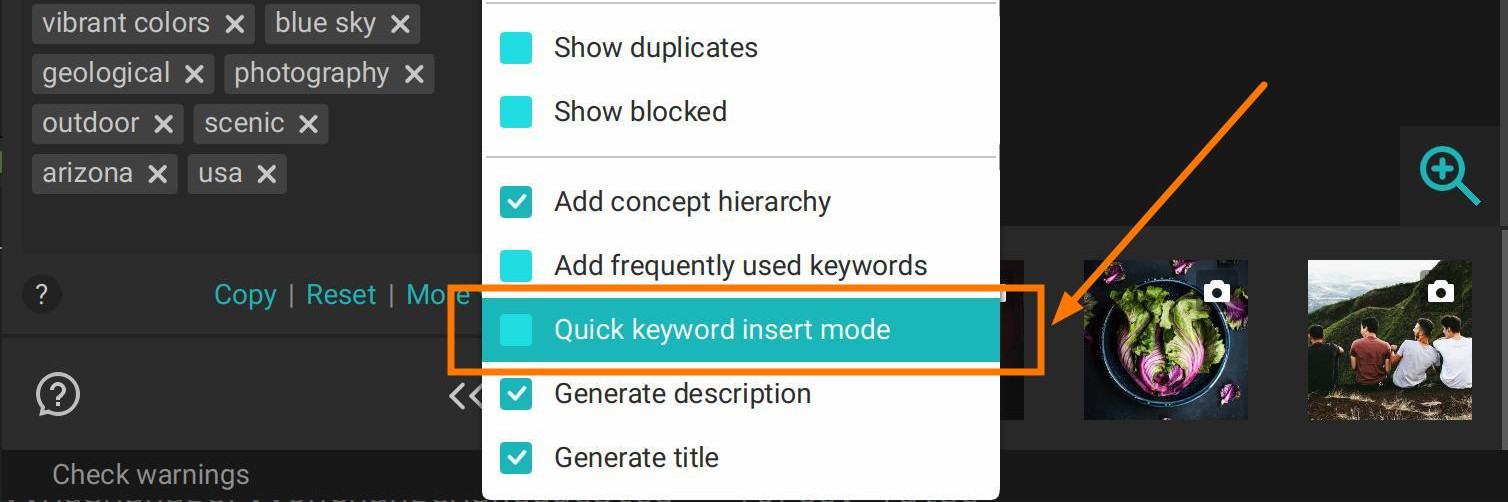
Quick insert mode: `Ctrl + click` a keyword to insert
In the tab, when keywords are generated, you can Ctrl + click (Cmd + click on macOS) on the single keyword to add it to the current file, without clicking “Apply” to add all of them. This can be useful if you are reviewing generated keywords (as you should) and adding them selectively. This can be enabled in the “More” menu under the keywords as “Quick insert mode”.
Batch generation
It is possible to generate AI keywords, titles and descriptions for many images at once (from Xpiks 1.7.2 and onwards).
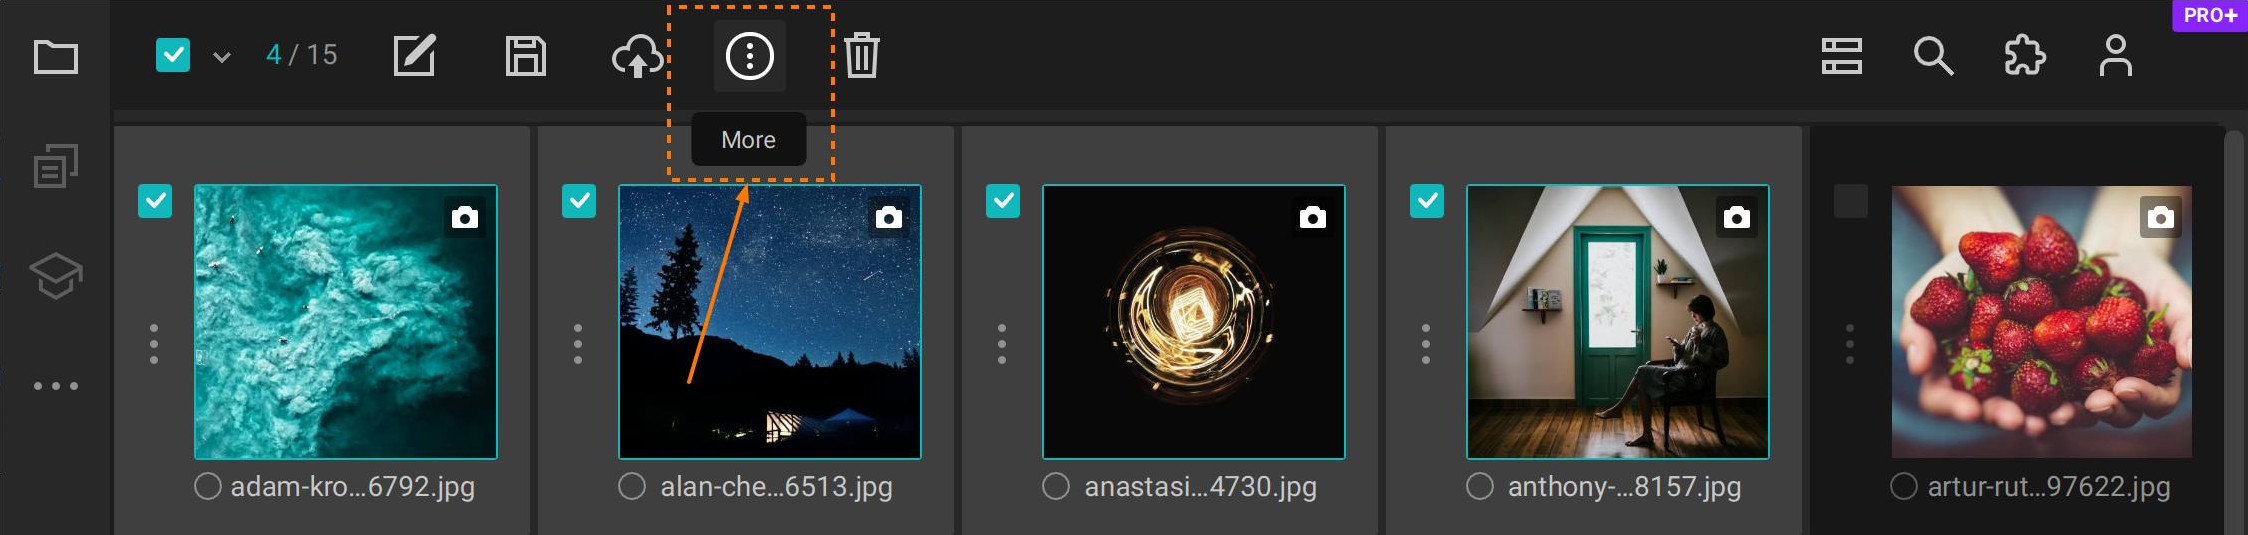
This action is available via the “More” menu for selected artworks (“More -> Plugins -> Auto keywording -> Generate”).
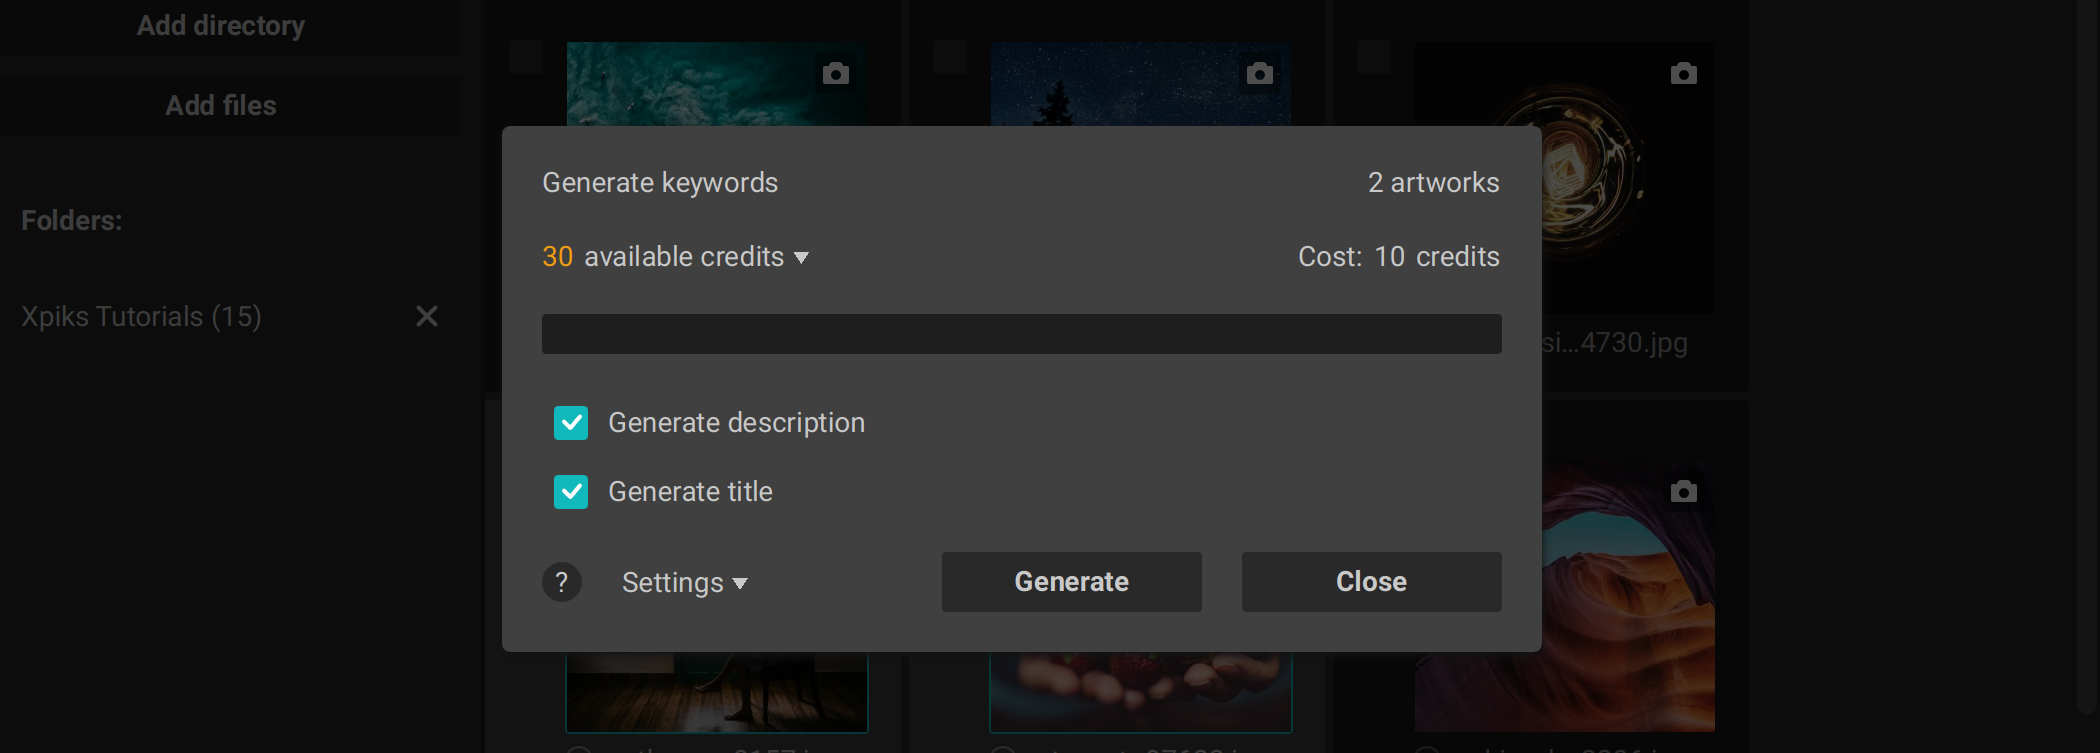
Batch auto-keywording dialog in Xpiks
Advanced options
Additional auto-keywording options
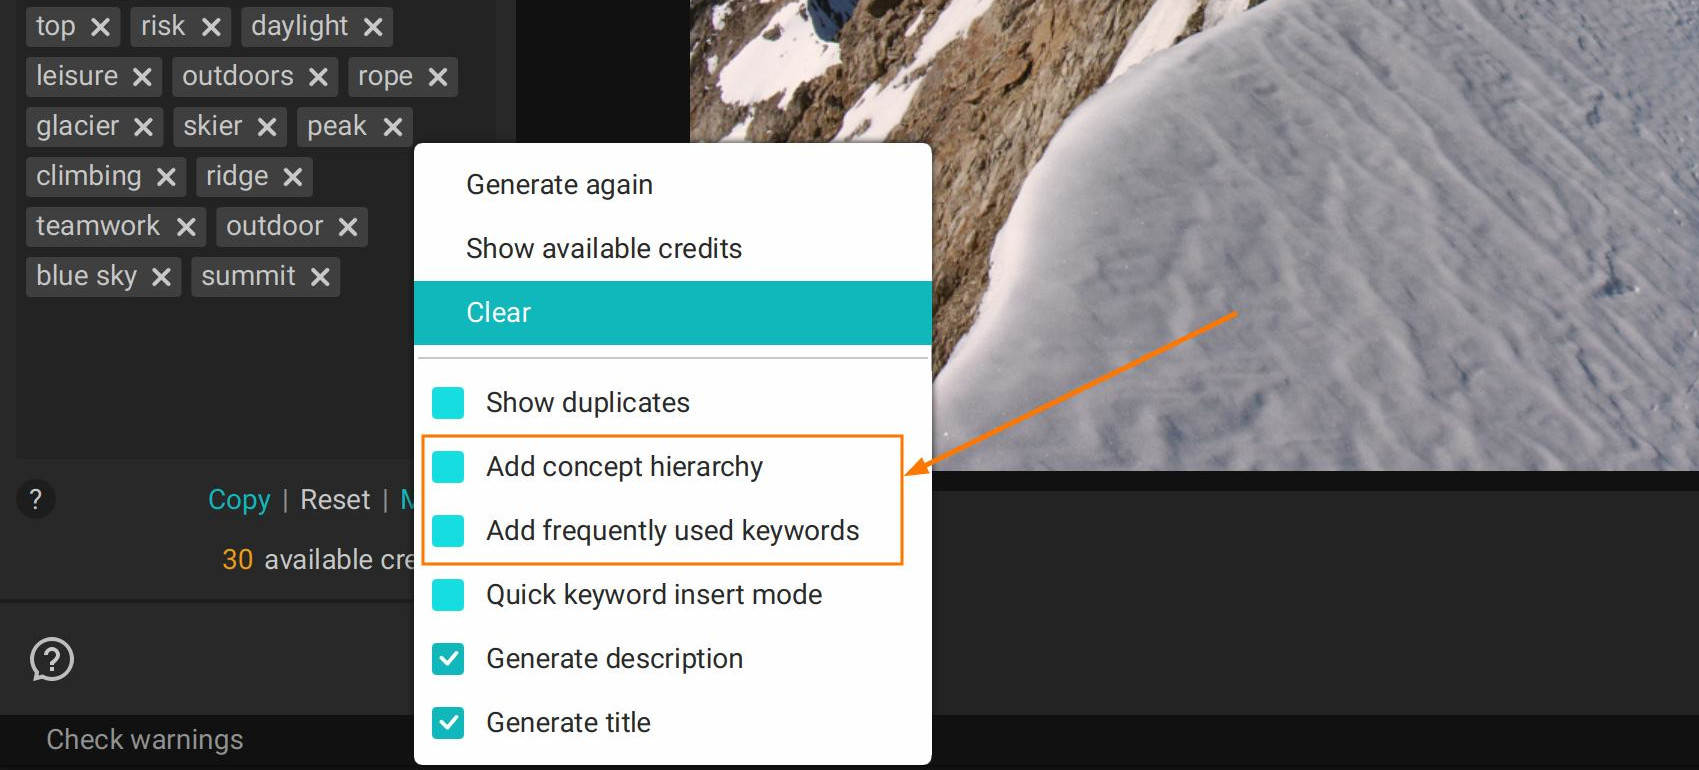
In addition to “usual” automatic generation, you can play with 2 more options:
- Concept hierarchy. For example, when you add
Paris, Xpiks will offerParis, France, Europeorjungleturns intojungle, forest, landscape, environment. - Frequently used keywords. This is not directly what is on the picture, but words, that statistically are used together with other keywords that you already added. Can be useful to uncover “hidden” gems.
Blocklist
Starting from plugin version 0.6.3, you can maintain a separate blocklist of words that AI suggests. Adding words to the blocklist means it will not be added to your files when you press “Apply” in tab or during batch generation.
You can add keywords to the blocklist from the context menu in the tab:
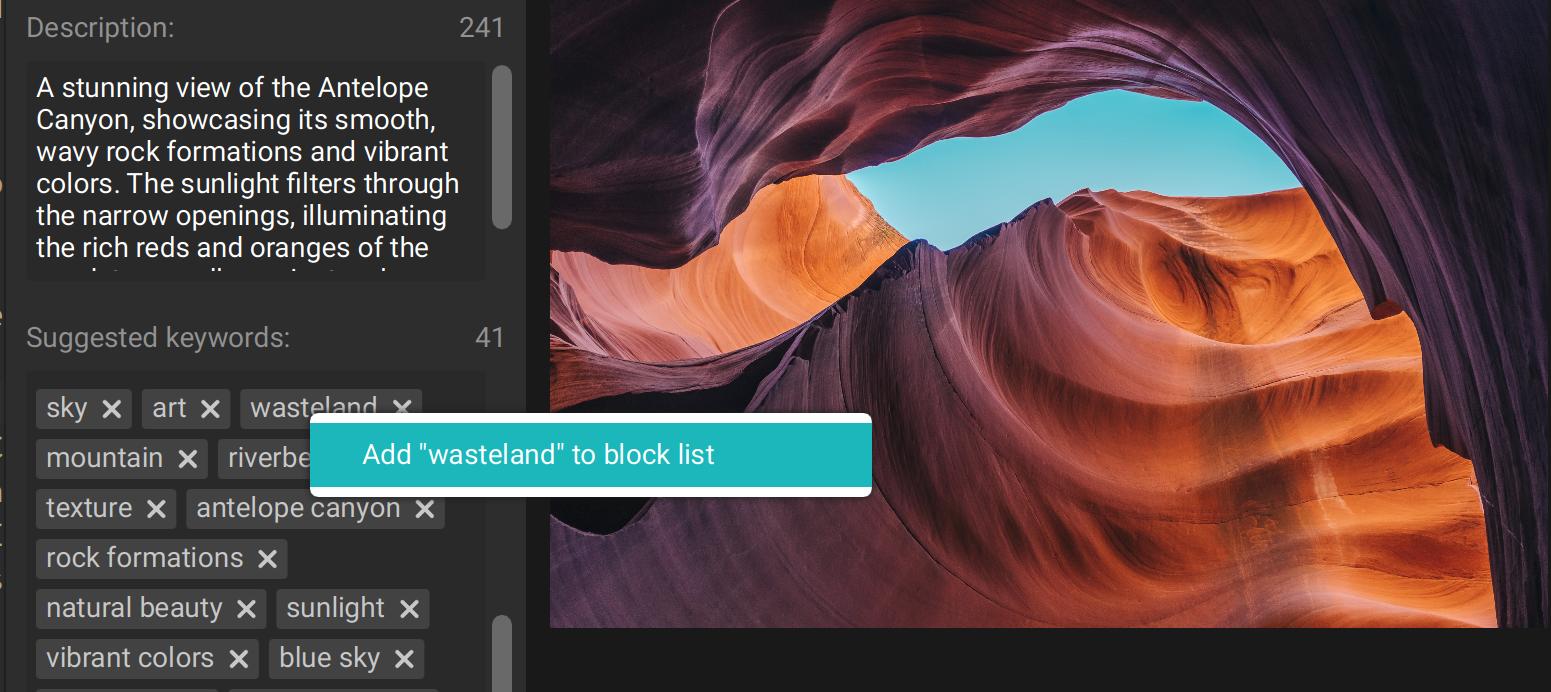
Right click a keyword to open a menu
In the advanced options menu in the tab (“More” menu below the keywords) you also have an option to “Show blocked” keywords for your convenience. Even when shown, they will not be added to your files when you press “Apply”, but you can still add them one by one.
For batch generation you will have an option (turned ON by default) to apply blocklist to the results, which you can disable if needed.
To manage the blocklist itself, use menu Tools -> Plugins -> Auto Keywording -> Manage block list.
Credit balance
You can check current credit balance in the “More” menu under the generated keywords in the tab or in the batch keywording dialog.
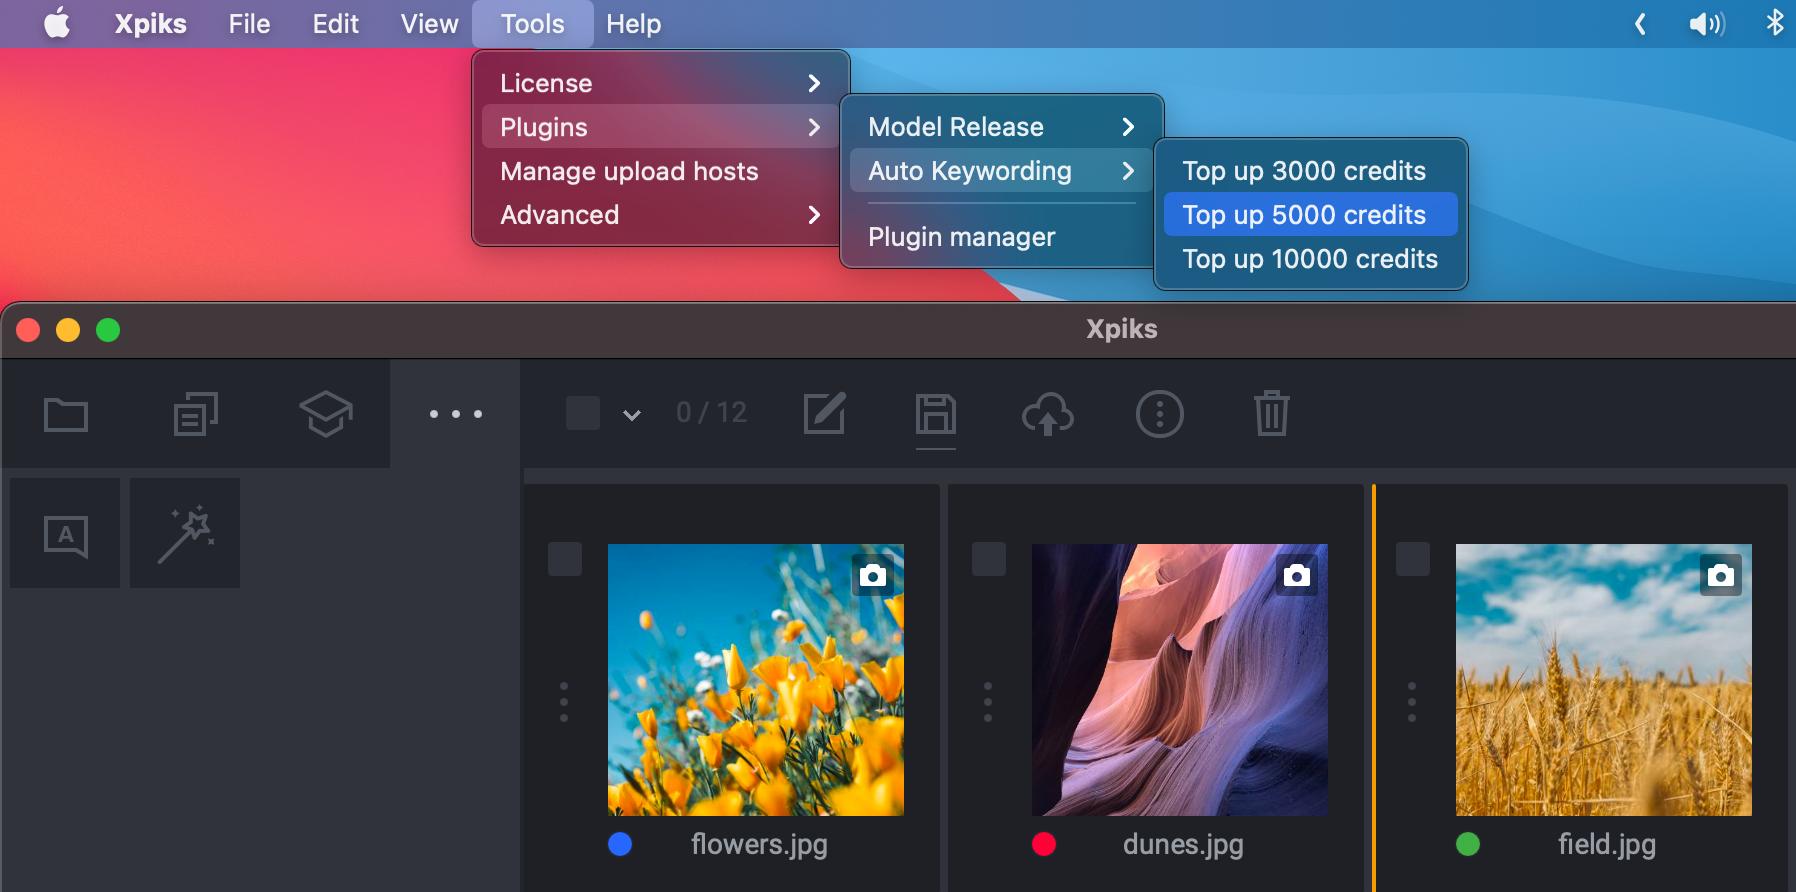
Topping up credits
- You can do so from the main menu
Tools -> Plugins -> Auto Keywording -> Top up X credits
- Or from the plugin tab itself under the “More” menu in the bottom row, if you don’t have enough credits.
Please note that it might take a small delay to update balance in the plugin itself, but the credits are actually available immediately.
Use with Cloud Upload
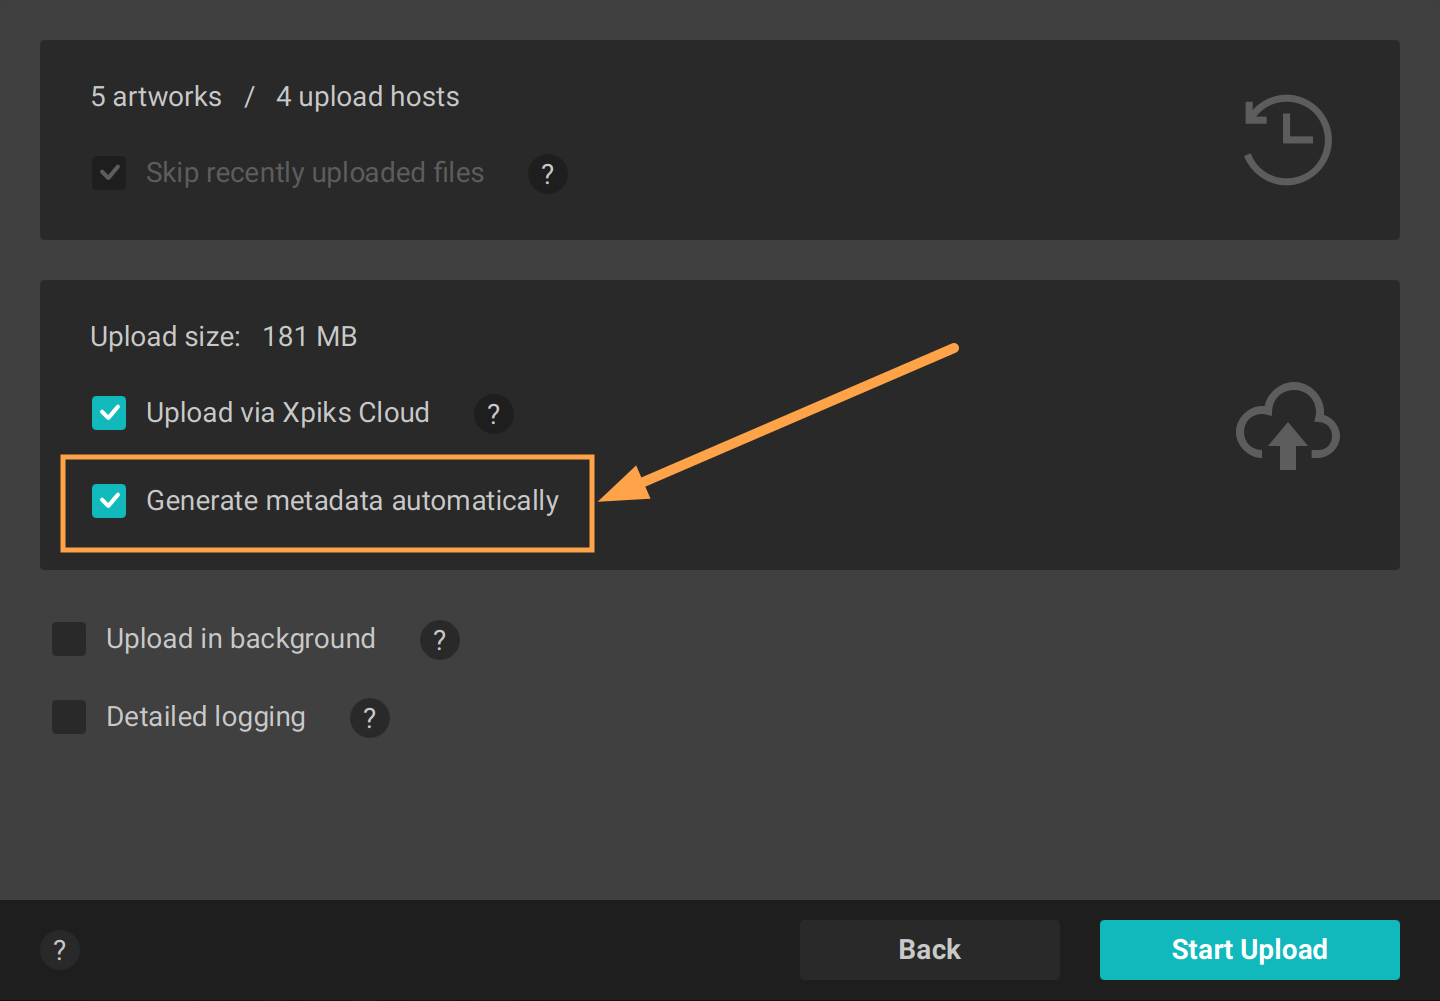
Option to generate automatic metadata during cloud upload
Starting with Xpiks 1.7.5 you can also generate full automatic metadata when using Cloud Upload. It uses the same system that powers the plugin. This is as close to “full automation” of processing your files as it gets.